Objectives
Materials
-
Per Group of 2-3 Students:
*Robot Mouse Coding Activity Set or single robot mouse (with 3 AAA batteries)
Green maze blocks, purple walls, or mat with grid, or a large poster paper with 10cm X 10cm grid lines
Yellow cheese piece, or something that can represent a block of cheese
Code cards (arrows)
Challenge cards (show a maze challenge)
Paper mouse
(optional) Role name tags (Designer, Coder, Programmer)
*Robot Mouse available from our Science Store or Education stores
Key Questions
-
How far does the mouse move forward for each press of the blue arrow?
-
Can you use the paper mouse to test your code before you use the robot mouse?
-
What is the first step that the mouse must do?
-
How could you do this activity without a robot mouse?
-
Did you have a favourite role: Designer, Programmer, or Coder? Why?
-
What did you do when you got stuck?
-
Why do you think it was important to work as a team?
What To Do
Note: Robot mice do not like to be driven like race cars. Encourage students to use the photocopy of the mouse if they want to drive the mouse or are moving around the activity mat to help with their coding.
If a mouse is not turning fully or is driving crooked, but is on a flat, hard surface, it may need a battery change.
No food or drink while using Robot Mice.
Turn off your mouse when you’re done the activity

Advance Preparation:
Ensure all the robot mice have adequate battery power and that the kits contain all the pieces (see Materials). Test the mice: if a mouse is not moving properly (going crooked, very slowly, etc.) it may be time to change the batteries.
Students should have a sturdy, flat surface to work on. Desks are okay, but tables or floor are best to ensure enough room for the robots to move. If working on a table, students need to be aware of space and make sure their mouse doesn’t take a tumble off the table.
Activity Instructions:
There are 20 challenges included in your robot mouse kit. Start students with the first four challenges and add a few at a time as they succeed.
More experienced or advanced students can design challenges for each other.
Teacher Tip: Students should switch roles every time they take on a new challenge.
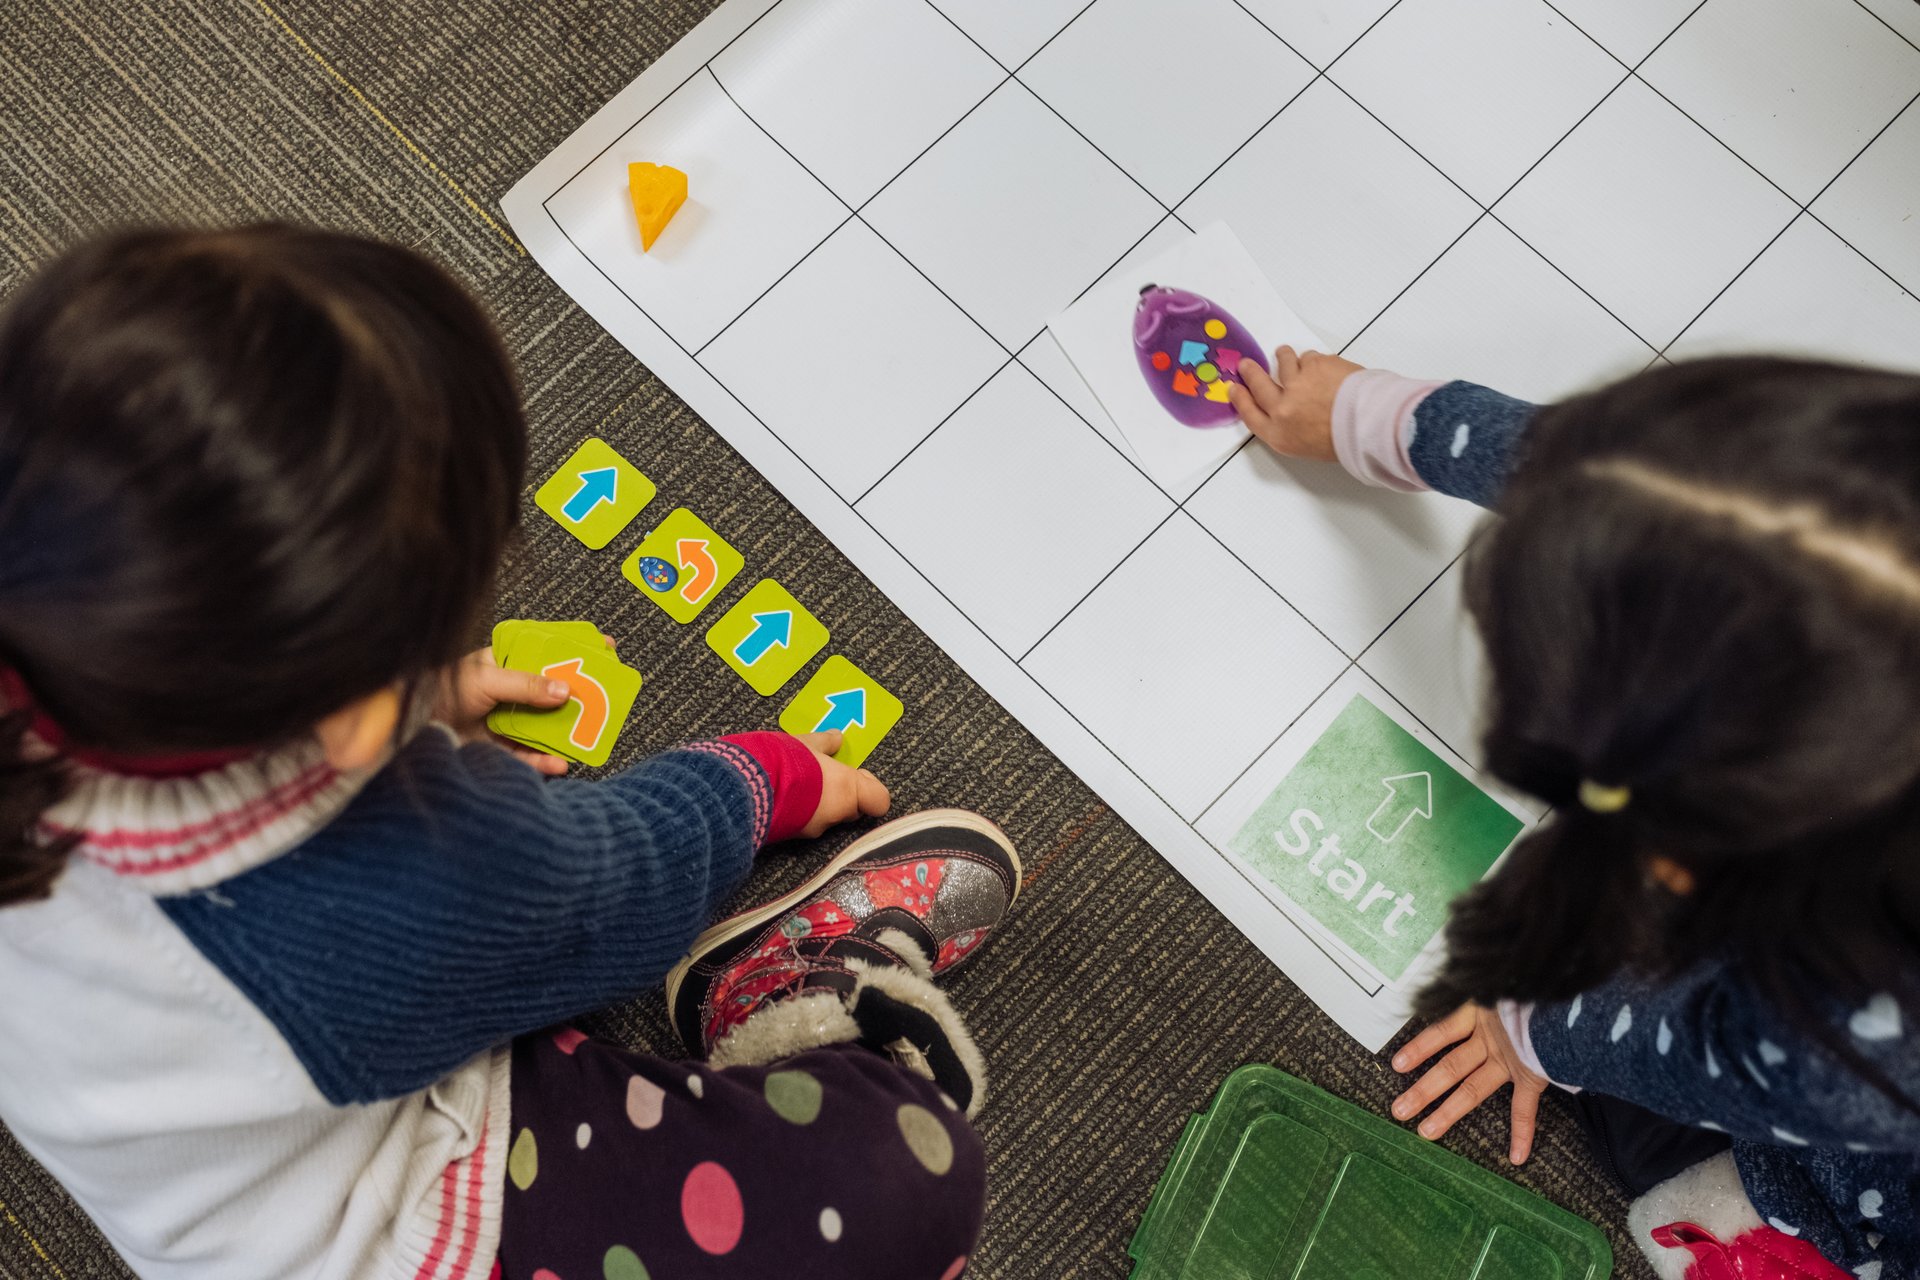
- The Designer sets up the green and purple maze pieces according to the challenge card.
- The Coder plans the code required to get the mouse to the cheese, using the code cards.
- The Programmer pushes the buttons to put the code into the mouse. If there are two students in the group, the roles of Coder and Programmer can be combined
Assessment Ideas:
- Ask students to design new challenges, create their own challenge cards, and show the cards that represent the solution
Extensions
-
Robot mouse will work on any smooth, flat surface. Find ways to make mazes or challenges on the floor or table, using other materials as obstacles or targets.
Other Resources
Learning Resources Inc | Video | Starting with Robot Mouse
Learning Resources Inc | Video | Example of labyrinth with pencils


