Microorganisms, such as bacteria, viruses and fungi, are all around us. In fact, researchers have found that the number of bacterial cells in our bodies roughly equals the number of human cells in our bodies. Although numerous, these 39 trillion microorganisms often go unnoticed.
As both an artist and a science student, I made it my mission to represent microorganisms on a greater visual scale. Substituting bacteria and yeast for paint, and agar plates for a canvas, I created images composed of thousands of living organisms. Under warm conditions, the living art is constantly growing and changing with the infiltration of contamination. The piece may change over time—a feature that is uncommon in conventional art.
Here is a step-by-step guide to make your own living art.
1. Materials
- Petri dishes
- Nutrient agar
- Spreaders or inoculation loops
- Paint brushes (fine and soft)
- A microorganism such as yeast or bacteria as a medium
- Ethanol, gloves and a candle for aseptic technique
These materials can be found on biological supply company websites, although sterile household items can also be substituted.
2. Choose Your Medium
In theory, there are millions of possibilities when choosing a microorganism to work with. It is important to consider a few factors such as safety, accessibility and how easily the microorganism can be manipulated. Food, such as yogurt, is a fast and cheap way to source a medium, as we surround ourselves with such bacteria-fermented food on a daily basis. Ideally, you want to work with a medium that grows quickly at room temperature. You can also try growing the microorganism in a warmer environment, such as an incubator or a small boiler room.
I first tried working with Activia Blueberry Probiotic Yogurt. Activia, and other yogurt brands, use bacteria such as Bifidobacterium lactis that are naturally found in the human gastrointestinal tract and assist with digestion. Upon swabbing the yogurt, plating and incubating, the bacteria appeared in a thin and fairly translucent layer.
A much better medium to use for image contrast is yeast, as it is white and opaque. Most grocery stores carry dry yeast that is easy to prepare.
3. Practise
Painting and drawing on agar is a lot more challenging than on a conventional canvas. The soft and humid agar is easy to slip on and puncture, therefore a lot of control is needed. Additionally, as you draw, it is very hard to see the work you have already done. To resolve this problem, I first draw my design on paper, place the agar plate overtop and then trace from left to right. Before attempting a more intricate design, I first start with simple lines and shapes to accustom myself to the medium and play with the thickness of the strokes.
4. Create!
Applying aseptic technique, trace your design onto the agar. If you’re having a hard time seeing your progress, hold the plate up to the light to see the strokes you have already made. Once the piece is complete, store the agar plate in a preferably warm environment. The longer the plate is stored, the thicker and bolder the strokes will grow; however, longer incubation times will also minimize the detail. Once you are satisfied with the growth, wrap the piece in plastic wrap to prevent contamination and store in the fridge to stop proliferation.
Final Products
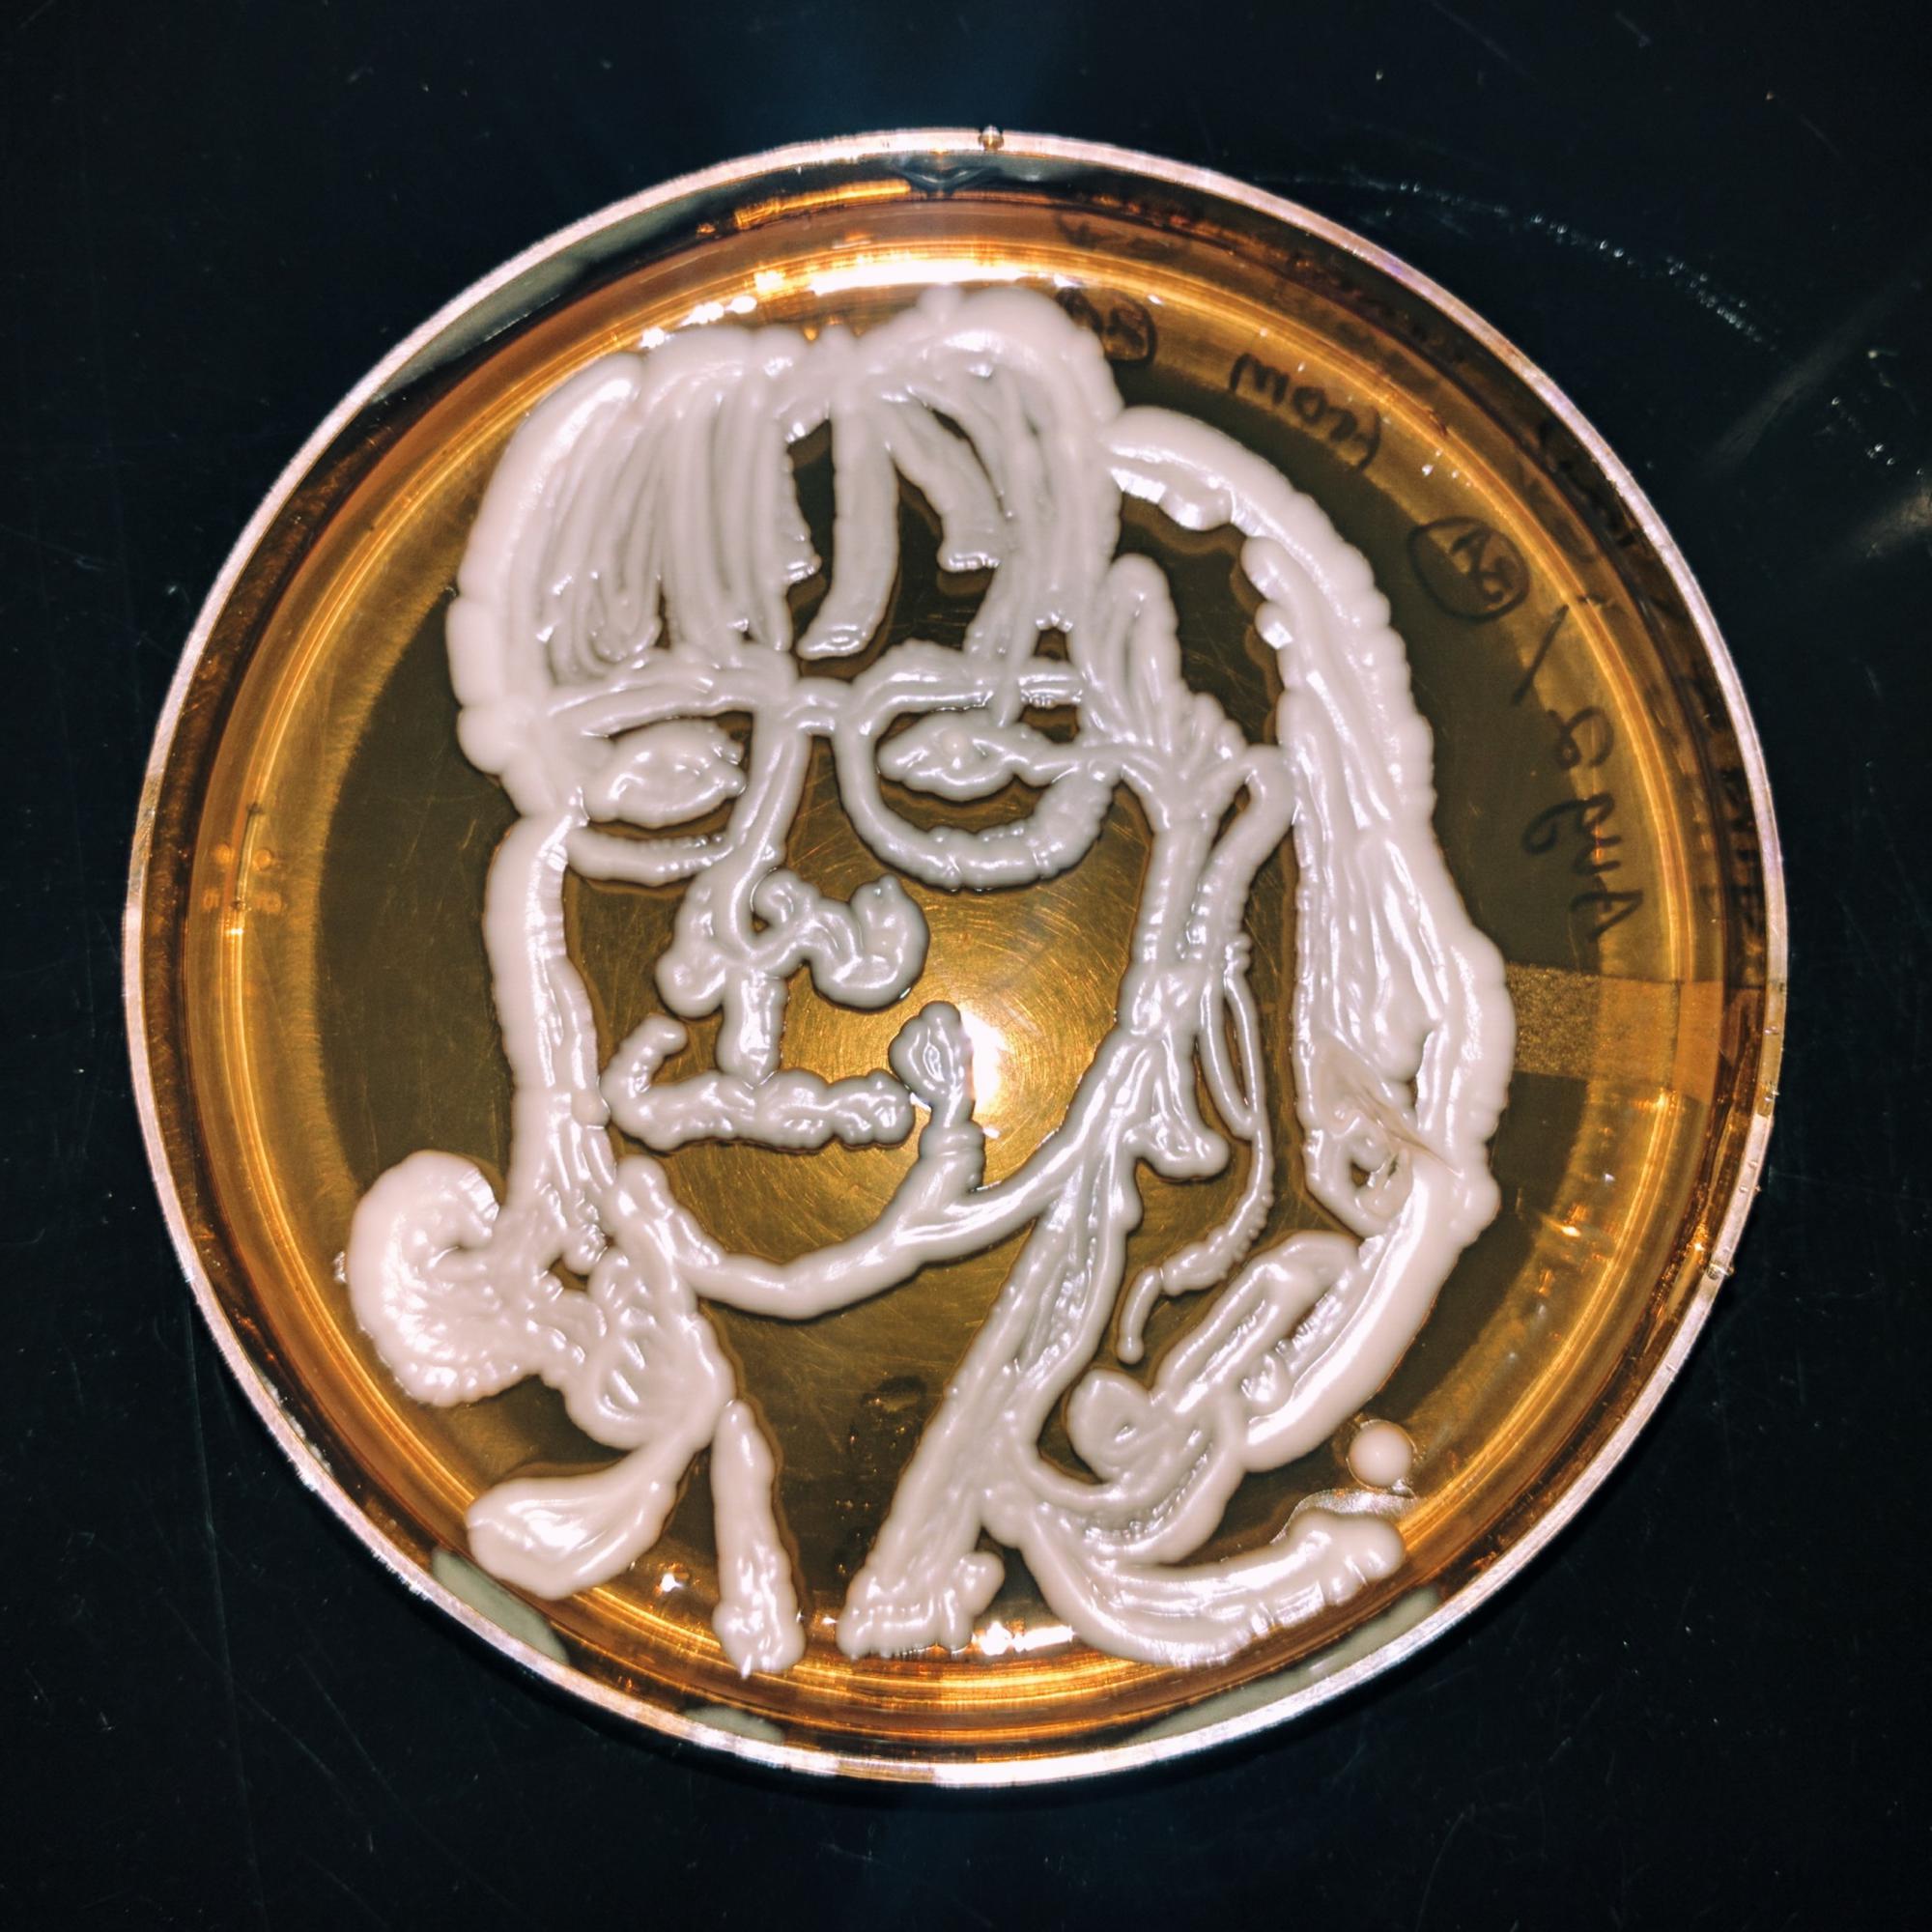
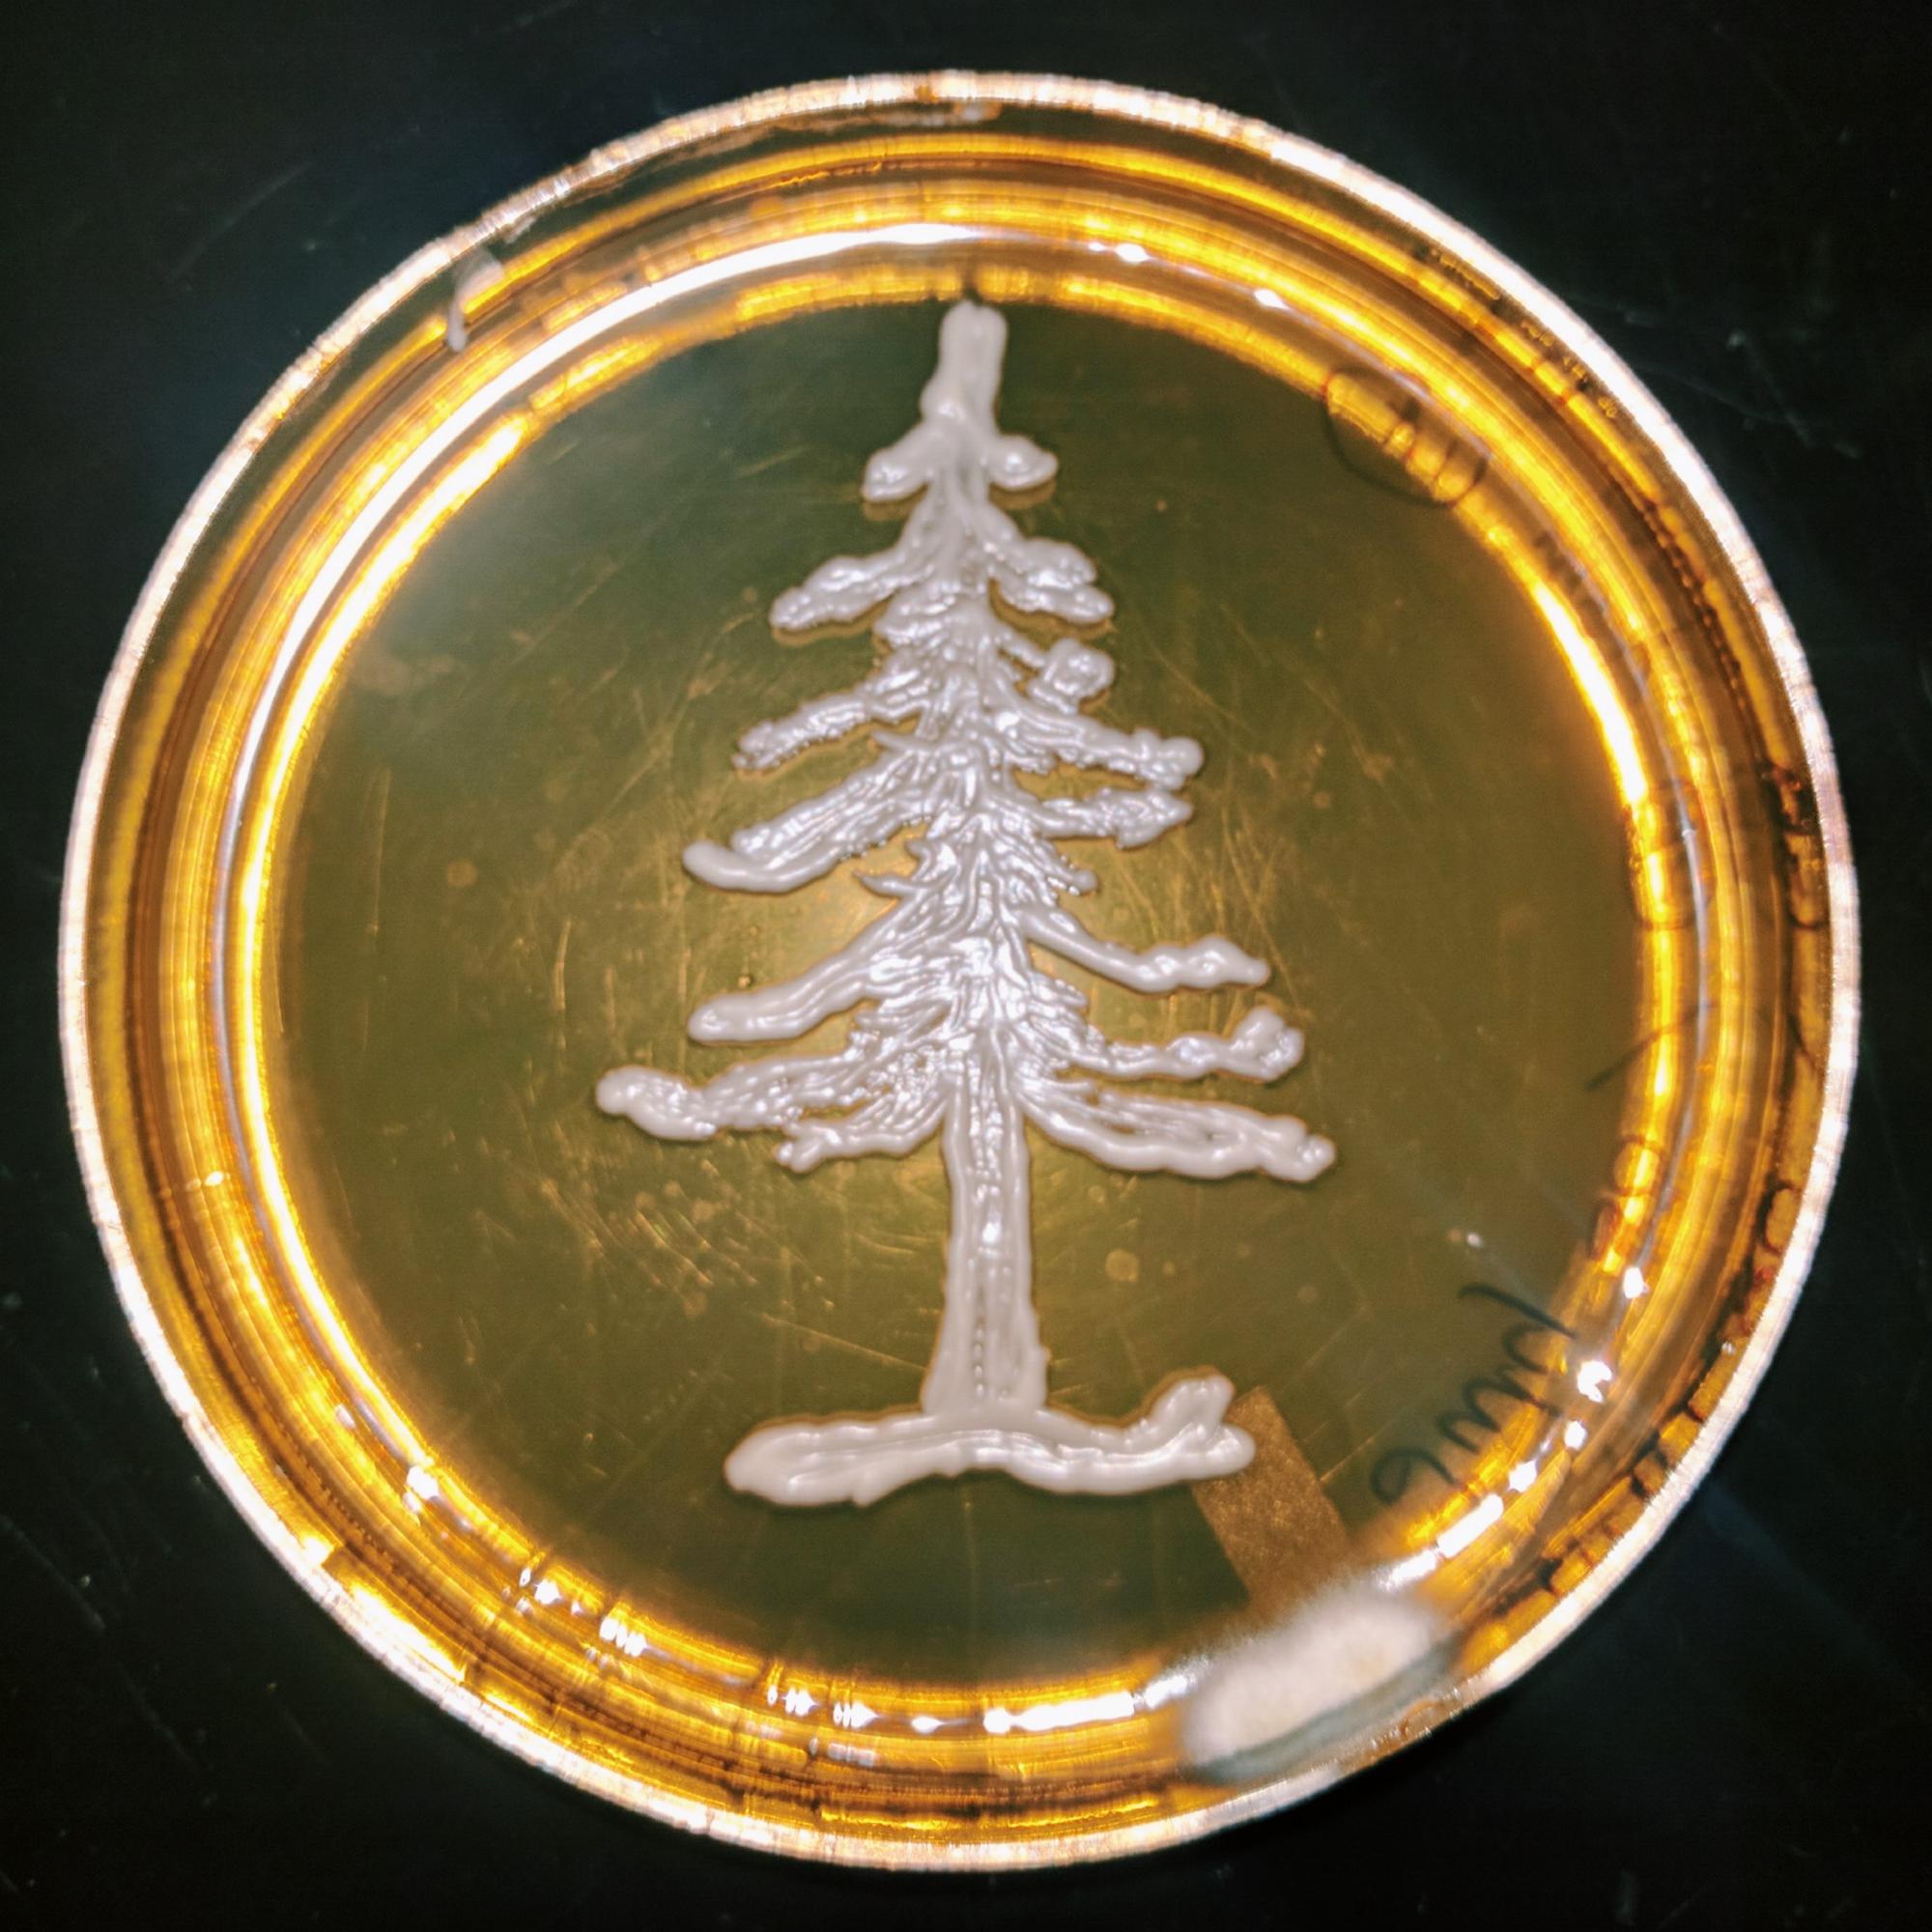
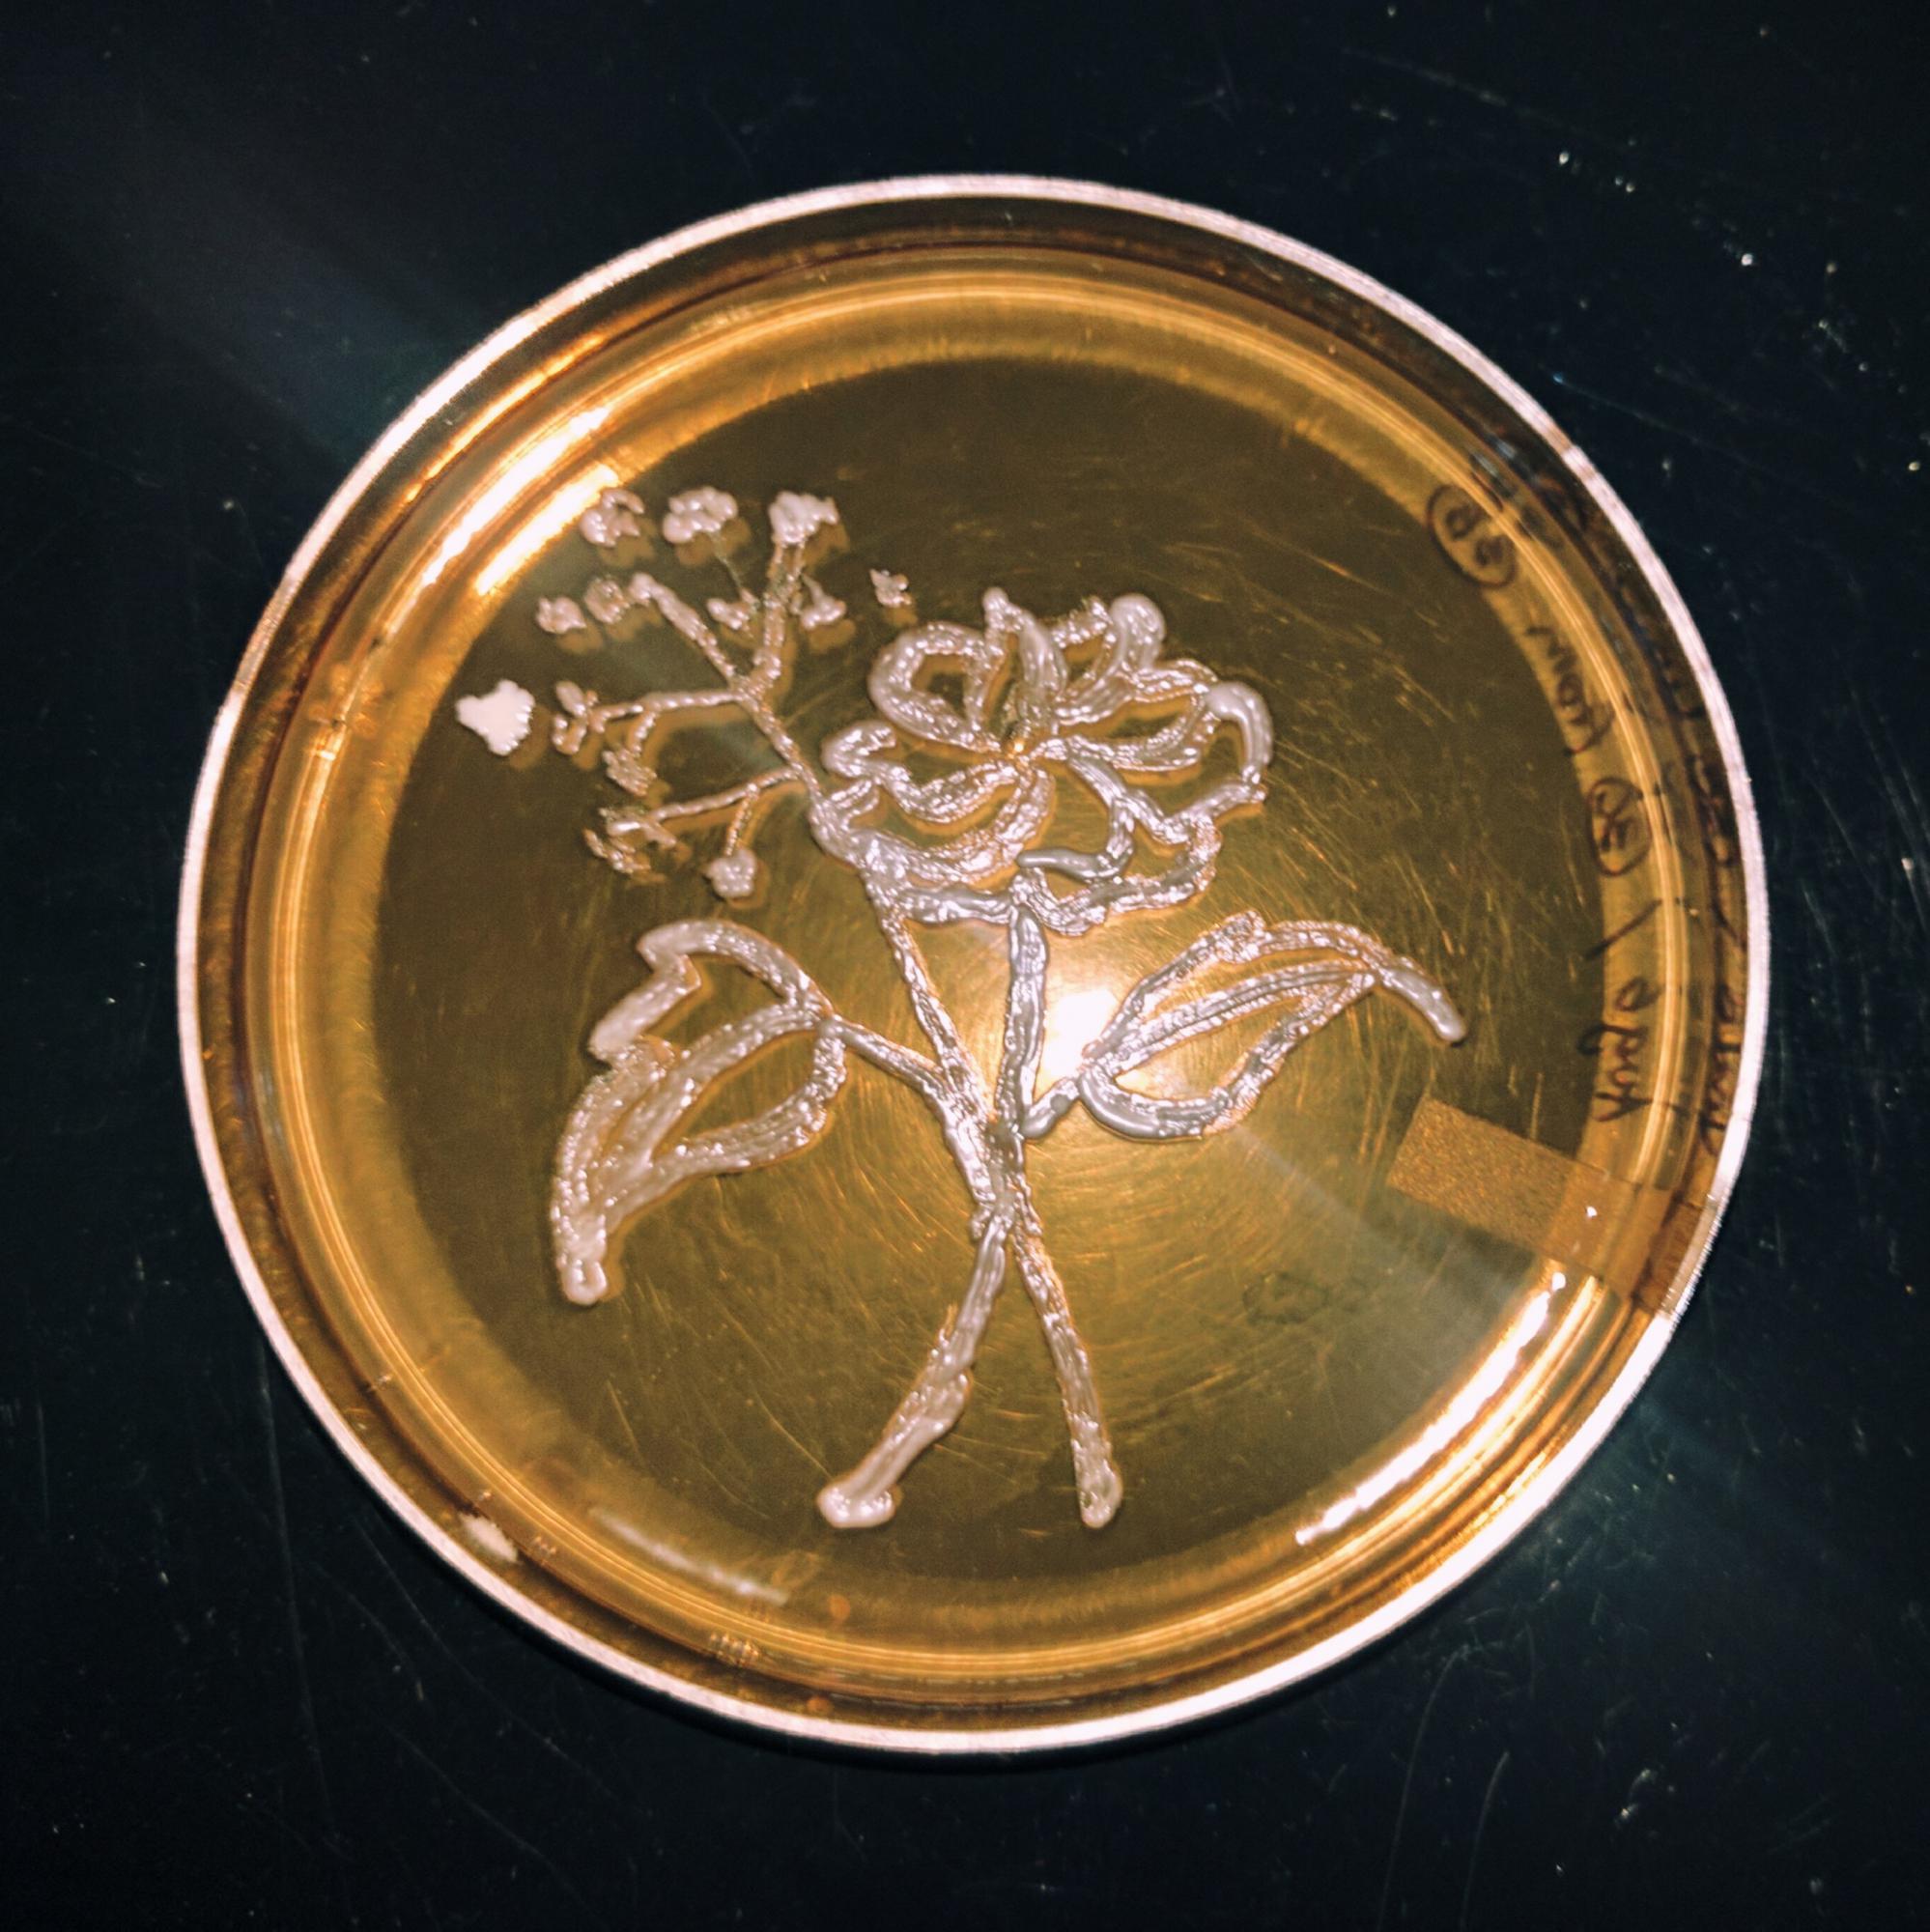
All these images were created using yeast; however, they were incubated for different lengths of time, which created the difference in thickness of stroke. Additionally, the image of the rose was drawn using a thin paintbrush, while the tree and the portrait were created using an inoculation loop.

Figure 1 Portrait of Mom

Figure 2 Tree

Figure 3 Rose