Objectives
Materials
-
Per Class or Group:
tempera paint, thinned with water in a bowl
containers for paint
spoons or droppers for paint
an electric fan (optional: to speed the drying process)
-
Per Child:
1 drinking straw (HINT:to discourage smaller children from accidentally sucking up the paint, cut a small hole near the middle of the straw)
paper (shiny fingerpaint paper works well)
Key Questions
-
What happens to the paint when you blow at it differently (i.e. softer, harder, in one long exhalation, in short exhalations, etc.)?
-
How does the paint change as it dries (colour, texture, behaviour)?
-
Does your painting look different dry than it did when it was wet? How is it different?
What To Do
Preparation
Consider having a previously made, dried painting as an example.
You may also find it helpful to have the students first practise blowing through the straws so they can feel the “wind” that will move their paint.
If you are concerned about students using too much paint, you may want to distribute it yourself – a little bit goes a long way!
Activity
- Drip a small amount of paint onto your paper.
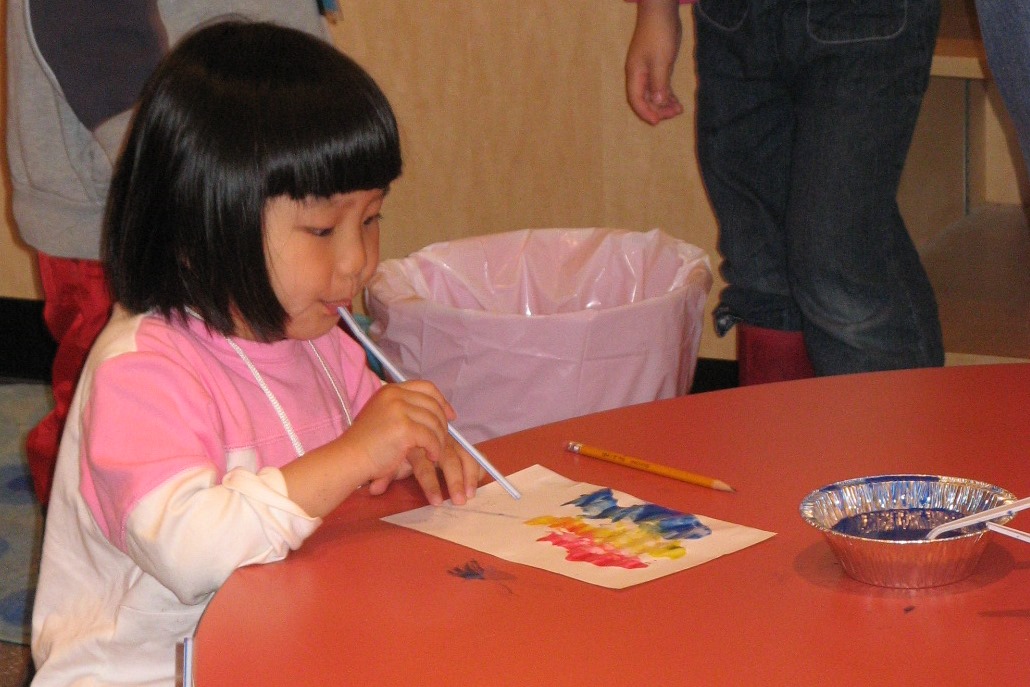
- Blow on the drops of paint with your straw to make your own design.
- To speed the drying process, use an electric fan to dry the paintings, then observe any changes.
Extensions
-
Move wet paint around the paper using gravity!
-
Experiment with different kinds of paper.


